Even the most talented writers know that a first draft is rarely perfect. Typos slip in, sentences drag on too long, and ideas don’t always flow as smoothly as we imagine. That’s where an editing checklist becomes a writer’s best friend. Instead of endlessly rereading and second-guessing, a structured checklist helps you spot errors, tighten your writing, and polish your work with confidence.
In this guide, you’ll find a complete editing checklist covering everything from grammar and style to structure and clarity. You’ll also discover how tools like the CUPS editing checklist, the COPS editing checklist, and a peer editing checklist can make revising easier and more effective. Whether you’re preparing an essay, an article, or a book, this ultimate guide will help you transform rough drafts into clear, professional writing.
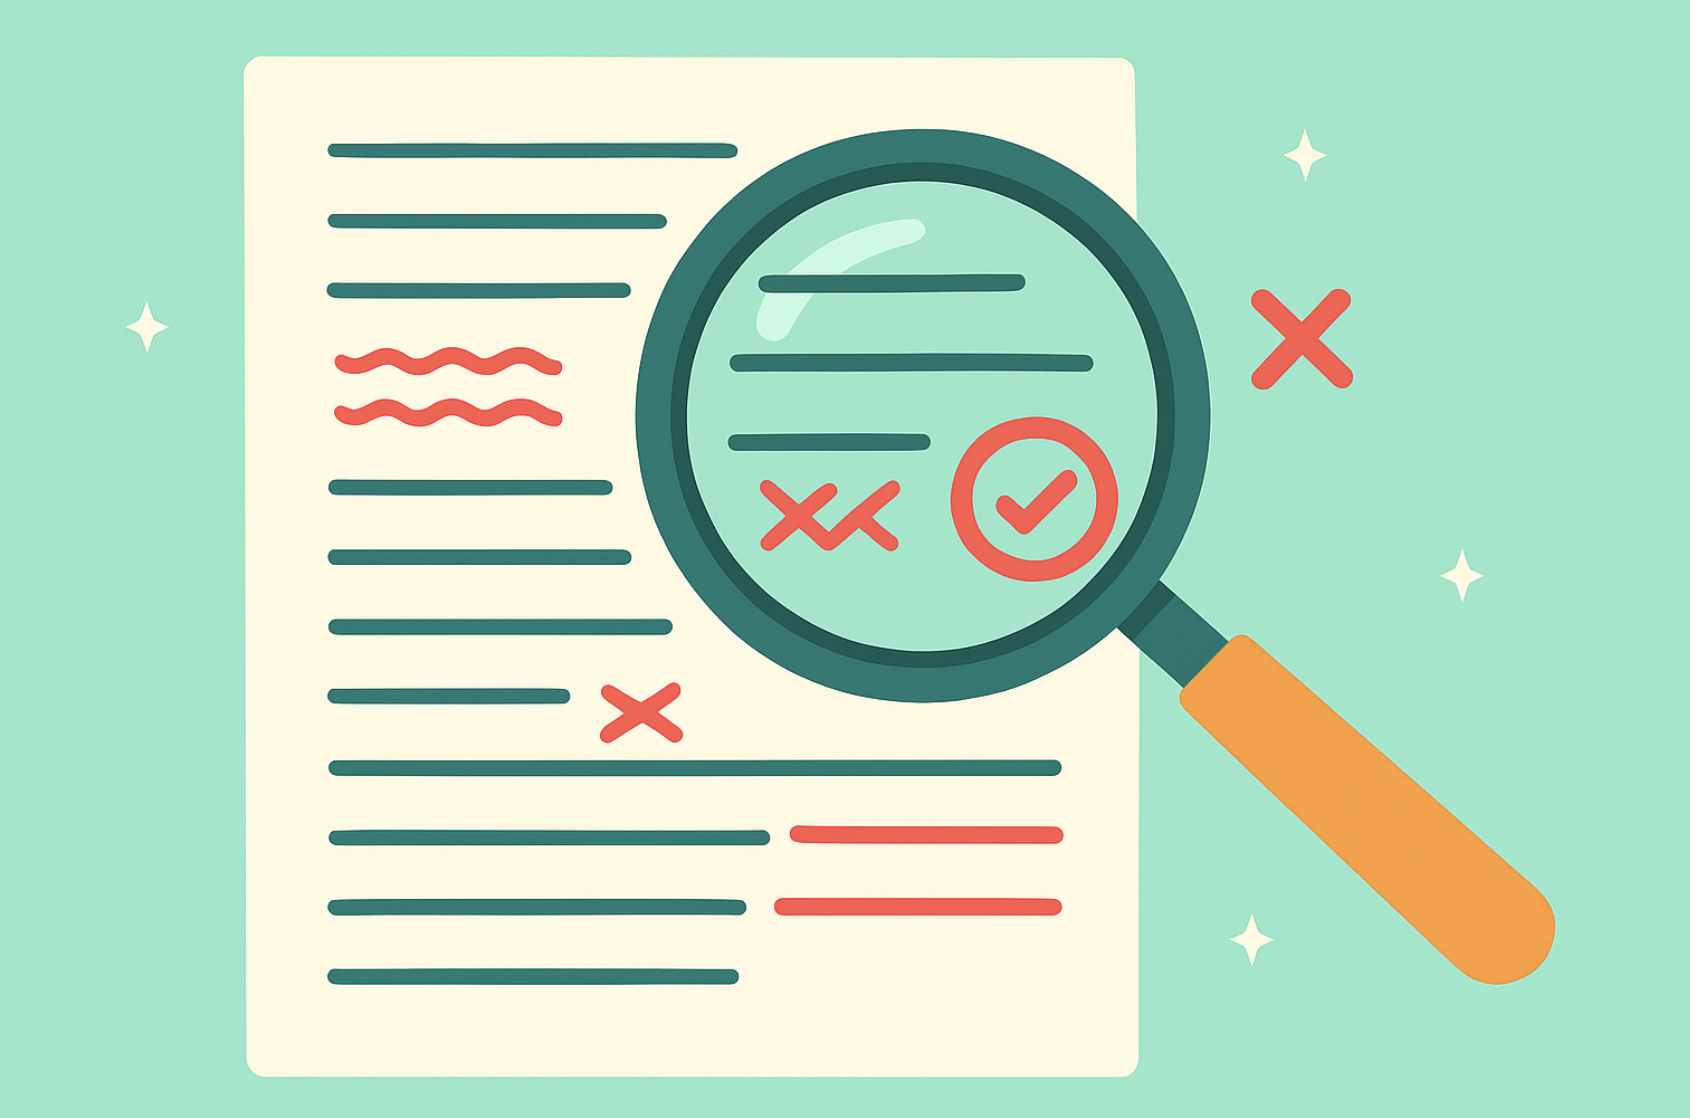
Why Should I Use an Editing Checklist?
Editing isn’t just about catching typos—it’s about making your writing shine. A well-structured editing checklist acts as a roadmap, guiding you through the revision process step by step. Instead of wondering, “Did I fix everything?”, you’ll know exactly what to look for and when.
Key Benefits of an Editing Checklist:
- Consistency: Keeps your grammar, formatting, and style uniform throughout your work.
- Clarity: Helps you identify confusing or wordy passages and refine them for easier reading.
- Confidence: Gives you peace of mind that you haven’t missed small but important details.
- Efficiency: Saves time by preventing endless re-reads and focusing your attention on what matters.
Think of an editing checklist as your quality control system. Whether you’re a student polishing an essay, a blogger drafting content, or an author finalizing a manuscript, a checklist ensures your writing is not only error-free but also engaging and professional.
Your Publishing Journey Awaits – Start NowThe Ultimate Editing Checklist: 10 Steps to Polished Writing
Follow this step-by-step editing checklist to get your writing to the highest standard possible.
Step 1: Take a Break Before Editing
Don’t start editing the second you finish writing. Step away for at least a few hours (ideally overnight). Distance gives you fresh eyes, so you spot mistakes and awkward phrasing you’d miss if you dive in immediately.
Step 2: Revisit Your Purpose and Audience
Ask yourself: Who am I writing for? and What’s the key takeaway? Re-read your headline, intro, and conclusion. Do they align with that purpose? If not, rewrite your intro to set the right promise and adjust the ending so it ties everything back to the reader’s needs.
Step 3: Check Overall Structure
Look at your piece like a skeleton. Do the ideas flow logically from one section to the next? Create a quick outline of your H2s/H3s and see if the order makes sense. Reorganize sections that feel out of place and cut anything that doesn’t serve your main point.
Step 4: Strengthen Paragraphs
Go through your piece paragraph by paragraph. Each paragraph should make one clear point, starting with a strong opening sentence. Break up long walls of text into shorter chunks, and add transitions to guide the reader (e.g., “For example,” “On the other hand,” “Next”).
Step 5: Sharpen Sentences
Read every sentence aloud. If you can’t say it in one breath, it’s probably too long. Split run-ons into shorter sentences. Replace weak verbs (“is,” “make,” “do”) with stronger alternatives (“becomes,” “create,” “achieve”). For example:
- Weak: She made a decision to start writing.
- Strong: She decided to start writing.
Step 6: Improve Word Choice and Tone
Cut filler words like just, very, really, that. Replace vague phrasing with concrete detail. Make sure your tone matches your audience—casual for blogs, formal for research, inspirational for thought leadership. Keep terms consistent throughout (don’t switch between “clients” and “customers” unless intentional).
Step 7: Focus on Clarity and Readability
Ask: Would someone new to this topic understand? Use short sentences, simple words, and active voice. If a sentence sounds complicated, rewrite it. Tools like Hemingway App can highlight hard-to-read passages.
Step 8: Apply the CUPS/COPS Method (Mechanics)
Do a focused line-edit using one of these checklists:
- CUPS → Capitalization, Usage (grammar), Punctuation, Spelling
- COPS → Capitalization, Organization, Punctuation, Spelling
This helps you catch mechanical errors quickly and ensures consistency across your work.
Step 9: Format for Scanability
Most readers skim first. Use clear headings, bullet points (sparingly), bolding for key terms, and consistent spacing. Break long sections with visuals, quotes, or callouts. Check formatting on both desktop and mobile—especially if publishing online.
Step 10: Final Review: Peer + Tools
Do a last read-through with text-to-speech or by reading aloud. Then, if possible, hand it to a peer with a peer editing checklist (ask them: Is the main point clear? Where do you get lost?). Finally, run a grammar checker like Grammarly or ProWritingAid—but don’t blindly accept suggestions. Trust your voice
Peer Editing Checklist
Use this checklist to edit your a peers work:
Before You Begin
☐ Read the entire piece once without stopping. Note your first impressions—was it engaging, confusing, too long, too short?
Purpose & Direction
☐ Does the headline and introduction clearly state the purpose?
☐ Is the main idea easy to understand?
☐ Does the conclusion tie back to the introduction and deliver on the promise?
Structure & Flow
☐ Do the sections and paragraphs flow in a logical order?
☐ Are there clear transitions between ideas?
☐ Is anything repeated, missing, or out of place?
Clarity & Understanding
☐ Did any sentences or sections confuse you?
☐ Could examples or details make certain points stronger?
☐ Is the language appropriate for the intended audience?
Style & Voice
☐ Is the tone consistent (professional, casual, academic, etc.)?
☐ Does the writing “sound” like the same voice from start to finish?
☐ Are word choices clear, precise, and free of filler?
Surface-Level Checks
☐ Are grammar and spelling correct?
☐ Is punctuation consistent (commas, apostrophes, quotation marks)?
☐ Are headings, fonts, and formatting consistent throughout?
Balanced Feedback
☐ Highlight one thing that worked especially well.
☐ Point out one or two areas that need the most improvement.
☐ Offer constructive suggestions instead of vague criticism.
Specialized Editing Checklists: CUPS and COPS
Sometimes, a simple memory aid can make editing faster and easier. That’s where the CUPS editing checklist and the COPS editing checklist come in. Both are especially popular in classrooms, but they work just as well for bloggers, essayists, and anyone polishing a draft.
The CUPS Editing Checklist
CUPS stands for:
- C — Capitalization: Check the beginning of sentences, proper nouns, and titles.
- U — Usage: Make sure verbs and subjects agree, and grammar rules are followed.
- P — Punctuation: Look for missing commas, quotation marks, and periods.
- S — Spelling: Run a spell-check and scan for homophones (e.g., your/you’re).
This version is great when your main focus is on mechanics—the surface-level polish that makes your writing error-free.
The COPS Editing Checklist
COPS is a slight variation that adds organization into the mix:
- C — Capitalization: Fix sentence beginnings and proper names.
- O — Organization: Check that ideas are in the right order and flow logically.
- P — Punctuation: Correct commas, periods, quotation marks, and apostrophes.
- S — Spelling: Verify accuracy with a spell-check and a careful read.
This version works well when you want to check both big picture order (organization) and small details (spelling, punctuation).
Whether you prefer CUPS or COPS, these editing checklists keep things simple and structured. They’re especially handy for students, teachers, and writers who need a quick last-minute check before turning in or publishing a piece.
Now, Go Get Editing!
Editing doesn’t have to feel overwhelming. With the right system, you can move through your draft step by step—starting with big-picture flow and ending with final polish—until your writing is clear, professional, and error-free. That’s exactly what an editing checklist provides: structure, focus, and peace of mind.
Whether you use the full 10-step self-editing checklist, the quick CUPS/COPS checklists, or the peer editing checklist for outside feedback, each tool helps you transform rough drafts into finished work that’s ready to share.
FAQ: Editing Checklists
Q: What is an editing checklist?
An editing checklist is a step-by-step guide that helps writers review their work systematically. It covers everything from structure and clarity to grammar, punctuation, and formatting, making sure no detail is overlooked.
Q: Why should I use an editing checklist?
Using an editing checklist saves time and improves quality. It gives you a clear process so you can move from big-picture issues (like flow and organization) down to smaller details (like spelling and punctuation) without missing anything.
Q: What is the difference between the CUPS and COPS editing checklists?
CUPS editing checklist = Capitalization, Usage (grammar), Punctuation, Spelling.
COPS editing checklist = Capitalization, Organization, Punctuation, Spelling.
CUPS focuses on mechanics, while COPS also checks whether ideas are organized clearly.
Q: What is a peer editing checklist?
A peer editing checklist is used when someone else reviews your writing. It guides them to check for clarity, flow, and purpose—not just typos. This helps you see your work through a reader’s eyes and strengthen it before publishing.
Q: Can I use an editing checklist for academic essays or just for creative writing?
You can use an editing checklist for any type of writing—essays, blog posts, research papers, or book chapters. The steps (checking structure, grammar, flow, and clarity) apply to all writing styles.
Q: What’s the difference between proofreading and using an editing checklist?
Proofreading usually means checking only for grammar, spelling, and typos. An editing checklist goes further by addressing structure, clarity, word choice, tone, and formatting. It’s a more complete approach to polishing your work.
Q: Do professional writers use editing checklists?
Yes! Many professional writers rely on editing checklists to make sure they don’t miss mistakes. Even seasoned authors use structured systems—because when you’re close to your own writing, it’s easy to overlook errors.