
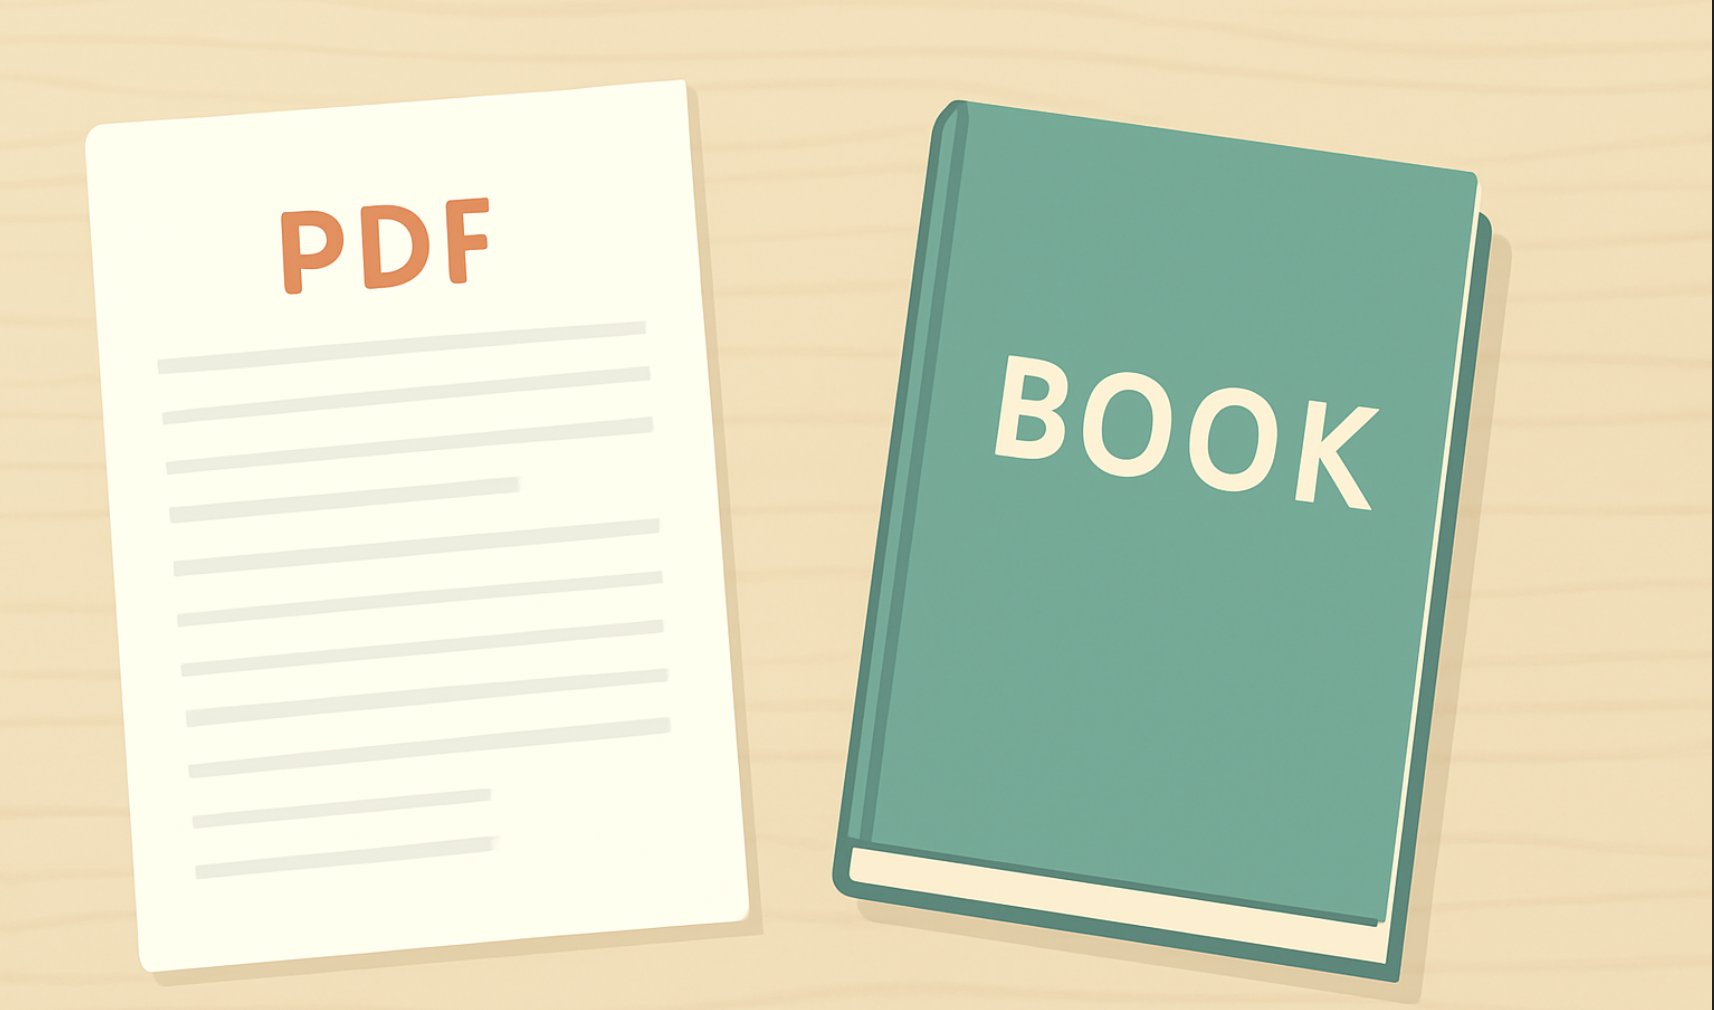
A PDF sitting on your desktop isn’t a book yet. It’s a file waiting for a decision: printed and bound, read on a screen, or flipped through like a magazine. That decision changes everything about how you prepare it.
Converting a PDF to a book means reformatting its layout, fonts, and image resolution to meet the technical requirements of your chosen output, whether that’s print-on-demand publishing, an ebook, or an interactive flipbook. The file itself doesn’t change format. What changes is whether it’s built to survive a printing press, a Kindle screen, or a browser window.
This guide covers all three paths: printing a physical book from your PDF, formatting the file correctly so it doesn’t fall apart at the printer, and converting it into a flipbook for online reading. Most guides on this topic pick one path and treat it as the only one. We’re covering all three because most people searching “pdf to book” haven’t decided yet, and the wrong choice at this stage is expensive to undo later.
What “PDF to Book” Actually Means
“PDF to book” isn’t one process. It’s three different processes that get lumped under the same phrase, and confusing them is the single most common reason people end up with a file that fails at the print shop or looks wrong on an ereader.
The three outcomes are:
- A printed book. Your PDF becomes the interior file for a physical, bound copy, produced through a print-on-demand service or a professional printer.
- An ebook. Your PDF is reformatted into a reflowable file (usually EPUB or a Kindle-compatible format) so text resizes automatically across phones, tablets, and ereaders.
- A flipbook. Your PDF stays a PDF but gets wrapped in software that adds a page-turn animation, so it can be viewed online without downloading anything.
Each path has different technical requirements. A file prepared for print (fixed layout, embedded fonts, 300 DPI images, bleed margins) assumes every line stays exactly where you put it, which is why reflowable text behaves nothing like a fixed page once it reaches an ereader. A file prepared as a flipbook needs none of the print specifications at all. Deciding which of the three you actually want, before you touch trim size or bleed, saves you from reformatting the same manuscript three times.
How to Print a Book from a PDF
Printing a book from a PDF means your file has to survive three things a screen never tests it against: a trim blade, a printing press calibrated for CMYK ink, and a binding machine. Get any of the three wrong and the flaw shows up in every copy of the print run, not just one.
Step 1: Prepare your PDF for printing. Set your document to a standard trim size, most commonly 6×9 inches for trade paperbacks. Build in bleed (extra image or color that extends past the trim line) and a safe margin so text never sits close enough to the edge to risk being cut. Confirm every font is embedded and every image is at least 300 DPI before you move on.
Step 2: Choose a printing service. Print-on-demand platforms like IngramSpark, Amazon KDP, or Lulu let you print a single copy or thousands without a warehouse of unsold inventory. Decide on paper type, binding style, and cover finish based on how the book will actually be read and sold, not just what looks best in a sample.
Step 3: Upload your file. Submit the interior PDF and, in most cases, a separate cover file built to the platform’s exact dimensions. Use the preview tool before you approve anything. This is the cheapest point in the process to catch a formatting error.
Step 4: Order and review a physical proof. A screen will not show you a binding that’s too tight to open flat or a color that prints duller than it looked on your monitor. Order one physical copy before approving a full run, and check page alignment, image quality, and binding by hand.
Step 5: Place the final order. Once the proof passes inspection, order your run, whether that’s a single copy for yourself or a few thousand for distribution.
PDF to Book Printing: Professional vs DIY
The choice between DIY and professional printing comes down to one question: are you printing a handful of copies for people who already know you, or are you trying to get a book into the hands of readers who don’t.
| DIY (Print on Demand) | Professional Printing | |
|---|---|---|
| Best for | Personal copies, gifts, small test runs | Bookstore distribution, large print runs |
| Cost per copy | Low for single copies, no bulk discount | Higher upfront, cheaper per copy at scale |
| Creative control | Full control over every setting | Guided by the printer’s specifications |
| Quality consistency | Can vary between orders | Consistent, bookstore-grade finish |
| Time investment | Higher, you manage every step | Lower, the printer handles logistics |
| Risk | Low, reorder as needed | Higher if you commit to a large run |
What actually separates one printer from another usually comes down to distribution reach and how forgiving the proof stage is. If you’re printing for family, testing an idea, or publishing a single copy, DIY print-on-demand is the lower-risk choice. If your book needs to compete on a shelf next to traditionally published titles, professional printing is where the difference actually shows, particularly in color accuracy and binding.
PDF to Book Format: Preparing Your File for Printing
Preparing a PDF for print means solving for the one thing a screen hides from you: physical tolerance. A printer’s blade doesn’t know where your design intended the page to end, it only knows where the machine is calibrated to cut, and that’s why every setting below exists to protect against a few millimeters of error. For example, 6×9 is the default most people reach for, but the size that actually fits your genre depends more on page count and shelf presence than habit.
Choose the right trim size.
| Trim Size | Common Use |
| 6 x 9 inches | Standard trade paperback |
| 5 x 8 inches | Memoirs, shorter novels |
| 8.5 x 11 inches | Workbooks, textbooks |
Set bleed and margins. Bleed is the extra 0.125 inches (3mm) of image or color that extends past the trim line, so the cutting process never leaves a white edge. Margins are the safe zone inside the trim, usually at least 0.5 inches (12mm), where text can sit without risk of being cut off.
Embed your fonts. If a custom font isn’t embedded, the printer’s software substitutes it with something else, and every line spacing and page break calculation built around the original font shifts. Most design software embeds fonts automatically during export, but the setting has to be checked, not assumed. Embedding a font stops it from being swapped out, but it doesn’t explain why some fonts hold up on paper and others don’t past a certain point size
Optimize your images. Anything under 300 DPI prints visibly pixelated. Vector graphics for logos and icons scale without any quality loss at all, which makes them the safer choice over raster images wherever a logo repeats across pages.
Check page numbers and layout. Automatic page numbering tools sometimes place numbers inside the bleed area rather than the margin, which means they get trimmed off in the final cut. Check this on every page, not just the first few. The decisions that happen before margins even get set are usually what make an interior look intentional instead of improvised.
Save as a print-ready PDF. Most printers require PDF/X-1a format, built specifically for high-quality print production. Adobe InDesign, Canva, and Microsoft Word all support this export setting under a name like “High Quality Print.”
Turning Your PDF into a Flipbook
A flipbook keeps your file as a PDF but adds a page-turn interface so it reads like a physical book inside a browser, which makes it the right choice for a portfolio, a catalog, or a preview you want people to browse without downloading anything.
| Platform | Best For | Notable Feature |
|---|---|---|
| Issuu | Magazines, catalogs, portfolios | Clean, widely recognized interface |
| FlipHTML5 | Budget-conscious creators | Free tier with customizable features |
| FlippingBook | Polished, branded presentations | High customization for page effects |
| Yumpu | Embeddable, shareable flipbooks | Strong social and website embed options |
Once you’ve picked a platform, upload the PDF, customize the cover and navigation, and confirm the output is responsive across phone, tablet, and desktop before sharing the link. Most platforms process the file in a few minutes and offer basic view analytics afterward, which is worth checking if the flipbook is doing any marketing work for you.
7 Common Mistakes When Converting a PDF to Book
1. Wrong trim size or margins. Content set to the wrong dimensions gets cut off or crowds the edge. Confirm trim size and margin requirements with your specific printer before designing a single page, not after.
2. Low-resolution images. Anything under 300 DPI prints blurred. Use vector graphics for logos wherever possible, since they scale without any loss in quality.
3. Unembedded fonts. A font that isn’t embedded gets silently substituted, and the substitution can shift line breaks across the entire manuscript. Embed fonts on export, every time.
4. Skipping the proof. Typos and layout errors that are easy to miss on a screen become obvious in a printed copy. Order one physical proof and read it page by page before approving a full run.
5. Wrong color mode. RGB looks accurate on a screen and dull on paper. Printers require CMYK, so convert before you send the file, not after the first run comes back wrong.
6. Missing bleed. Without a 0.125 inch bleed margin, any image or color meant to reach the edge of the page ends up with an unintended white border after trimming.
7. Ignoring the binding style. A paperback needs spine text and layout adjustments a hardcover doesn’t, and a hardcover has separate dust jacket specifications. A hardcover runs on its own rulebook, starting with the difference between a case wrap and a dust jacket, and each one expects a different file before printing begins. Confirm your printer’s requirements for your specific binding before finalizing the file, not after.
One mistake that doesn’t show up on most lists: formatting the file before the manuscript is finished. Setting trim size, margins, and fonts too early, then editing content afterward, is one of the most common reasons a first-time author’s page count and chapter breaks shift unexpectedly right before printing. Lock the manuscript first. Format second.
Final Tips for a Polished Result
A cover designed to the wrong dimensions, spine text that doesn’t account for page count, or a table of contents built manually instead of from your document’s actual headings are the details that separate a book that reads as self-published from one that doesn’t announce it. Get the cover sized exactly to your trim and spine width, use no more than two or three fonts throughout the interior, and build your table of contents from real headings so it links correctly in digital formats. Spine width and trim alignment are usually where a DIY cover starts to show, long before anyone notices the font choice. If you’re releasing an ebook, use reflowable text rather than a fixed layout, unless the book is visually driven, like a cookbook or a picture book, where fixed layout is the right call.
FAQ: PDF to Book
Q: What is the best way to convert a PDF to a book?
The best method depends on the outcome you want. For a printed book, format your PDF to a standard trim size with proper bleed and margins, then upload it to a print-on-demand service like Amazon KDP or IngramSpark. For a flipbook, skip the print specifications entirely and upload the same PDF to a platform like Issuu or FlipHTML5
Q: How do I print a book from a PDF?
Format your PDF to the correct trim size, margins, and image resolution, then upload it to a print-on-demand platform and order a physical proof before approving a full print run. Most platforms, including KDP and IngramSpark, handle binding and shipping once the file passes their preview check.
Q: What is PDF to book format?
PDF to book format means adjusting your PDF’s trim size, margins, bleed, embedded fonts, and image resolution to meet the technical requirements of print or digital publishing. A file formatted correctly for print will look identical to your design intent once it’s bound and cut.
Q: Can I turn a PDF into a flipbook?
Yes, by uploading it to a flipbook platform like Issuu, FlipHTML5, FlippingBook, or Yumpu, which converts the static file into a page-turning digital reader without changing the underlying PDF. No print formatting is required for this path.
Q: Do I need to hire a designer to format my PDF into a book?
No, but a designer reduces the risk of the errors that most often derail a first print run, particularly around trim size, bleed, and font embedding. Adobe InDesign and Microsoft Word both support the correct export settings if you’re formatting the file yourself.
Q: What are the main differences between print books and ebooks?
Print books require exact trim size, bleed, and CMYK color preparation before a physical run, while ebooks use reflowable text that adjusts automatically to whatever screen it’s read on. A single PDF prepared correctly for print will not work as an ebook without a separate reflow pass.
Q: How can I make sure my printed book looks professional?
Order a physical proof before committing to a full print run and inspect it by hand, since screen previews miss binding tightness and true color accuracy. Beyond the proof, correct trim size, embedded fonts, and 300 DPI images are what separate a professional finish from one that looks self-published.